HVAC Changeout Checklist Template - Housecall Pro
FREE DOWNLOAD

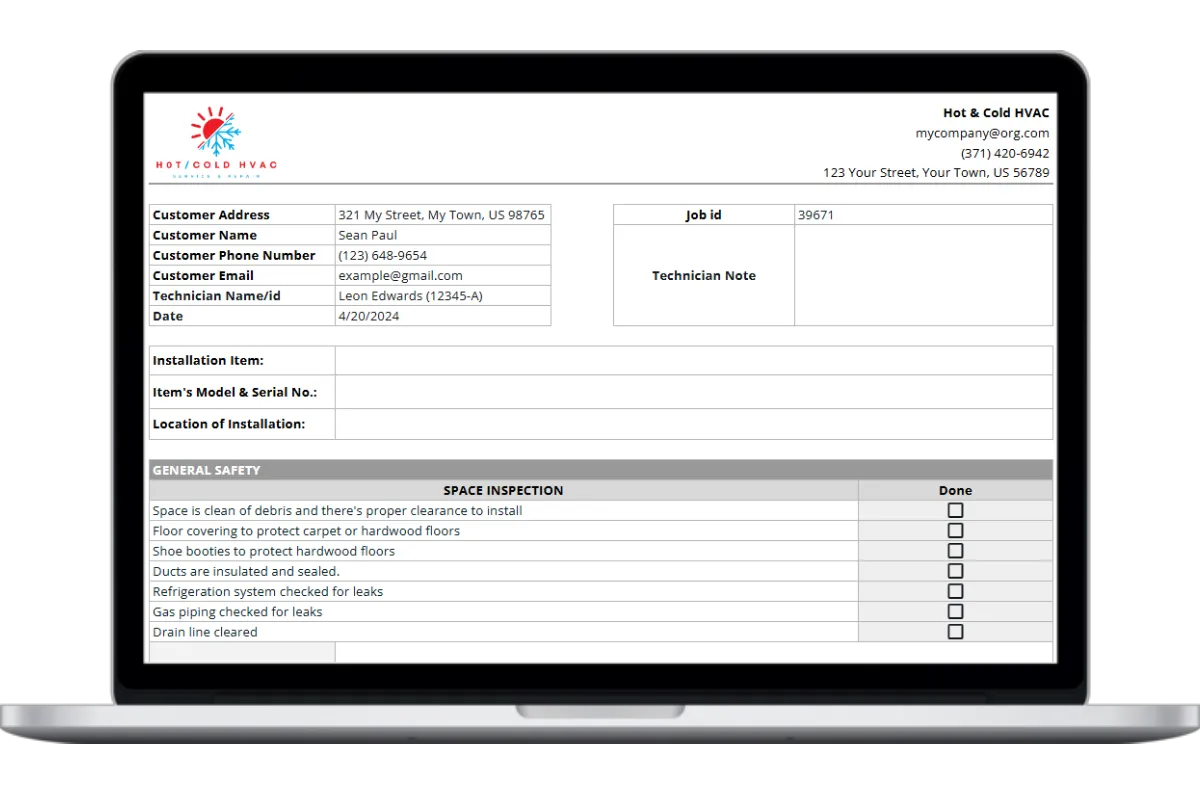
HVAC Changeout Checklist Template

Make sure your installation techs have the steps they need to take on an HVAC changeout with a checklist to follow. Download your free checklist today.

SIMPLE TO LEARN AND QUICK TO USE

Built for Pros: Free HVAC Change-Out Checklist template from Housecall Pro

This change-out checklist template is a quick and easy way to ensure no steps are missed by technicians, keep accurate service records and complete work efficiently on the job site.
  • Customizable

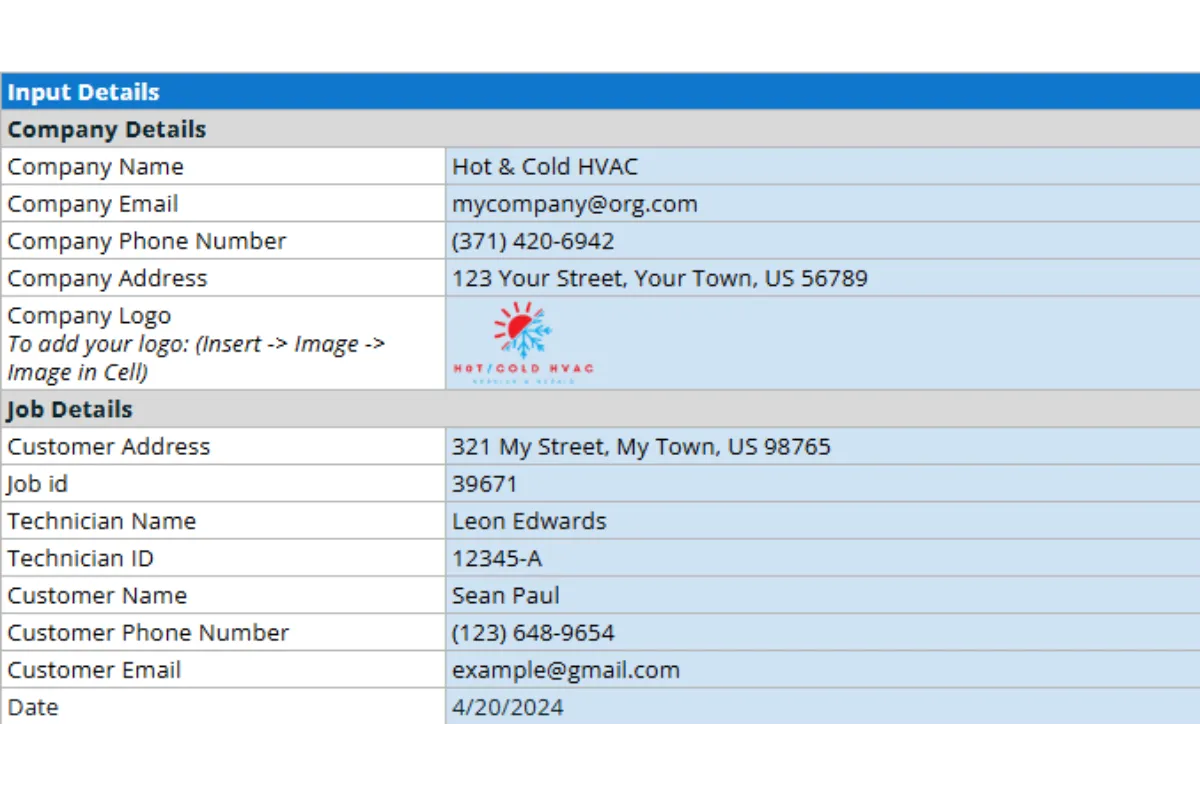
    Personalize by adding your branding and customer information.

  • Easy to Use

    Focus more on the job and less on the paperwork. Simply fill in the blanks with specific details.

  • Easily download, print, and share the professional, auto-populated template you create.

  • Works Anywhere

    Use the simple printable form at the office or on the jobsite.

Here’s everything included in our HVAC change-out checklist template

Creating accurate and thorough change-out records is essential for any HVAC company. Having a simple, straightforward change-out checklist template makes it a whole lot easier. Our change-out checklist template features:

  • Step-by-step instructions that walk you through the entire template

  • Simple customization to add your branding and personalize customer info

  • A printable report for your records or to send to customers

  • Built-in formulas that save you time calculating totals

Get In Touch: 858-251-9751

Download our HVAC Change-Out Checklist template

FAQ

Why do you need an HVAC change-out checklist?

HVAC companies use an installation checklist during an HVAC change-out to ensure that nothing gets missed. You may have one massive checklist for all installs or specific checklists for different types of equipment.  The checklist can be expanded to include (or complement) startup items used at the beginning of the season to make sure the equipment is still running correctly or a general maintenance checklist used for quarterly checkups.

In general, checklists keep your team’s workflow consistent and can help encourage adherence to company policies. They can also save you the expense of callbacks from missed steps or equipment flaws.

It can also be used to encourage customer loyalty. Show the checklist to the customer to build confidence in the thoroughness of the work completed. It also gives you an opportunity to educate the customer about their equipment, energy efficiency and how to save on their gas and electric bills, and what additional work or improvements you suggest.

Another key reason to start using checklists, especially when installing new equipment, is to have a record of what you’ve done in case questions arise later. Keep these records for warranty questions or disputes with customers.

In this post, we walk you through what a good checklist should include to ensure a quality installation. You can also download our free checklist template at the end of this post to get you started.

The benefit of checklist apps

Switching to a mobile checklist app can save you time in the field and the office. Instead of lugging around tons of paperwork and having to manually enter it into the job history, many checklist apps can attach a completed checklist to the job entry.

We’ve also built our own checklist app to meet the specific needs of home service businesses. Our users can add a checklist to any job which techs can then pull up in the field. From our mobile app, they can see all relevant information about the job, the customer, their work history and equipment, along with the checklists assigned to the job.

What should an HVAC change-out checklist include?

Here are the different components we recommend including in your install checklist:

1. Specifics from manufacturer, local building codes, and NEC requirements

Most manufacturers of HVAC equipment have their own startup and service checklists that are specific to their products. While it’s good to have default checklists for any heating or air conditioning unit, we also recommend having specific checklists on-hand for the equipment you regularly service or install. Be sure to consult local building codes and the National Electrical Code (NEC) for installation requirements.

It might also be helpful to review ACCA’s Residential Quality Installation Checklist, a guide for homeowners when comparing the value of potential contractors. This guide can also be very useful when building out a checklist for everything you should cover in the estimate.

2. An inspection of the space and all the components of the unit

Then you’re ready for your standard walk-through of a unit install. A common issue missed step is not double-checking the model number. Before you start installing anything, make sure you have the right unit!

In your checklist, include all the actions you take before installing the unit, such as checking for shipping damage or missing parts, checking the power supply and making sure it’s up-to-code, and inspecting the condition of ductwork, tubing and electrical connectors, air filters, vents and flues, gas lines, and drainage pipes.

3. All the installation steps

During the installation process, a good checklist should guide you through a thorough evaluation of all the components of the new system, such as the compressors, motors, pumps, and fans. What are common issues you run into with poorly installed equipment? Make sure they’re on the list.

To give you an example of the kinds of technical items a checklist might include, here are two sections from our template (which you can download for yourself at the end of this post).

Additional gas requirements

  • Gas supply line connected to unit
  • Gas piping joints sealed
  • Drip leg installed
  • Gas leak check complete
  • Check gas pressure

Additional requirements for airflow fans

  • Motor and blower mounting bolts are tight
  • Fans are aligned and rotating freely
  • Fan motor bearings are lubricated

Other sections of our template include space and unit inspections, electrical and controls, coil requirements, refrigerant requirements, and pressure, charge, voltage, and temperature measurements.

4. New unit performance measurements

Post-install, you’ll want to take initial performance readings of the new equipment and the entire heating or cooling system. This is a good opportunity to offer recommendations for future work. (If you installed a new furnace, how is their air conditioner functioning?)

5. Post-Installation business wrap-up

Also consider adding all of the things a tech needs to communicate to a customer, such as an overview of the unit’s features, thermostat settings, warranty information, a plug for HVAC maintenance agreements, and a request for a review.